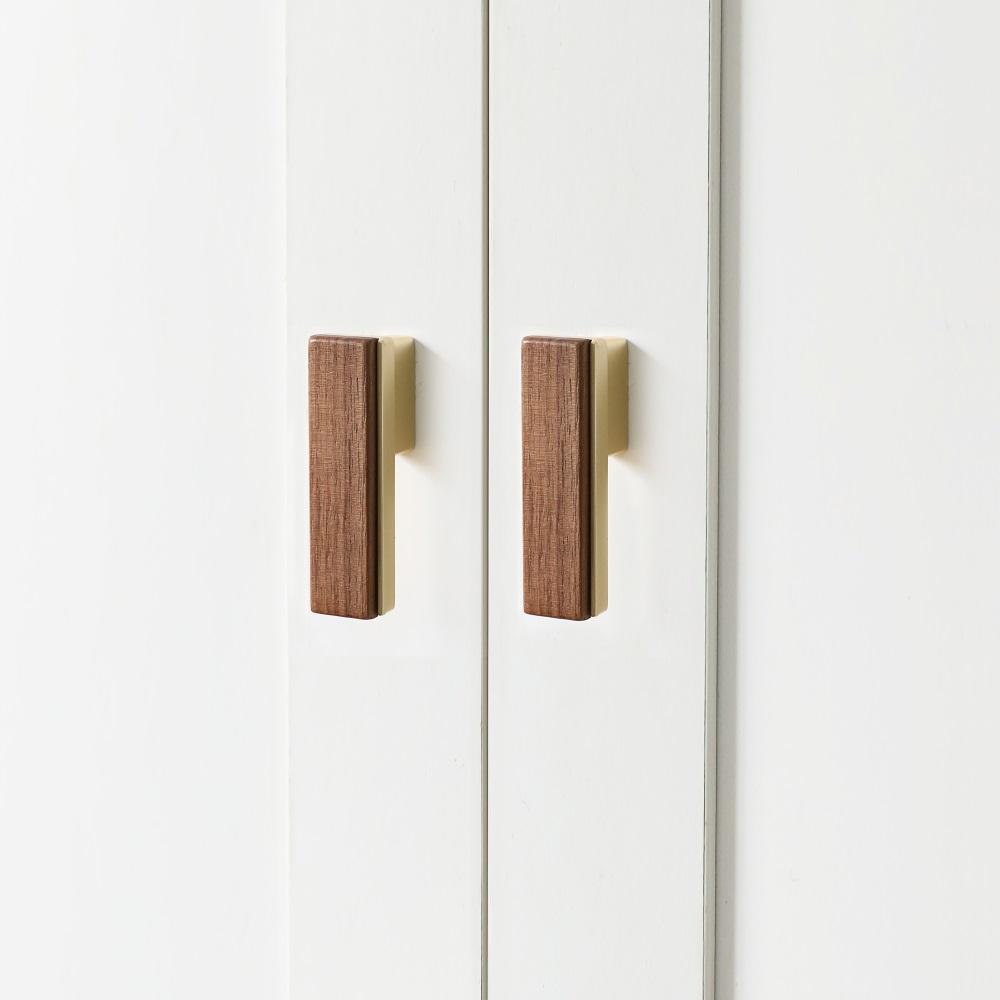
Finishing techniques play a crucial role in enhancing the appearance, durability, and feel of wooden furniture handles. The right finish can bring out the natural beauty of the wood while protecting it from wear and environmental factors. Here’s a guide to different finishing techniques for wooden furniture handles:
1. Sanding:
Before applying any finish, start by sanding the wooden handles. Sanding smoothens the surface and prepares it for the finish. Begin with coarser grit sandpaper and gradually progress to finer grits for a polished result. Sanding also helps to open up the wood pores, allowing the finish to penetrate effectively.
2. Wood Stain:
Wood stains are available in a variety of colors and shades. Stains add color to the wood while allowing its natural grain to show through. Apply the stain evenly using a brush, cloth, or sponge. Wipe off excess stain after a few minutes to achieve the desired color intensity. Multiple coats can be applied for a deeper color.
3. Varnish or Polyurethane:
Varnish or polyurethane finishes provide a protective layer that shields the wood from moisture, scratches, and UV damage. These finishes are available in various levels of sheen, from matte to high gloss. Apply thin, even coats using a brush, foam applicator, or spray gun. Sand lightly between coats for a smoother finish.
4. Oil Finishes:
Oil finishes, like linseed oil, tung oil, or Danish oil, penetrate the wood to nourish and protect it from within. They provide a natural, matte appearance and a smooth, tactile feel. Apply the oil using a cloth, and allow it to soak in. Multiple coats can be applied for increased protection.
5. Wax Finish:
Wax finishes, such as beeswax or carnauba wax, provide a soft, low-sheen surface. They enhance the wood’s natural appearance and provide a tactile finish. Apply the wax using a cloth or brush, and then buff it to a shine. Wax can be reapplied periodically to maintain the finish.
6. Lacquer:
Lacquer finishes create a hard, durable surface that offers protection and a glossy appearance. Spray-on lacquers are popular for achieving a professional finish. Apply several thin coats, allowing each coat to dry before applying the next. Sand lightly between coats for a smooth finish.
7. Shellac:
Shellac is a traditional finish that provides a smooth, amber-toned surface. It dries quickly and can be easily repaired. Apply shellac using a brush or pad, and build up coats for desired coverage. Seal the final coat with a protective finish, like wax or polyurethane.
8. Water-Based Finishes:
Water-based finishes are low in VOCs and provide a clear, durable surface. They dry quickly and have a minimal odor. Apply using a brush, roller, or sprayer. Water-based finishes are available in various levels of sheen and can be mixed with stains for color customization.
9. Aging and Distressing:
For an antique or distressed look, consider techniques like sanding edges, applying glaze, or using distressing tools. These techniques can give your wooden handles a worn, aged appearance.
Before applying any finish, it’s recommended to test it on a scrap piece of wood or an inconspicuous area to ensure you achieve the desired result. Additionally, follow the manufacturer’s instructions on the product labels for proper application and drying times. A well-applied finish not only protects but also enhances the visual appeal and tactile experience of your wooden furniture handles.


