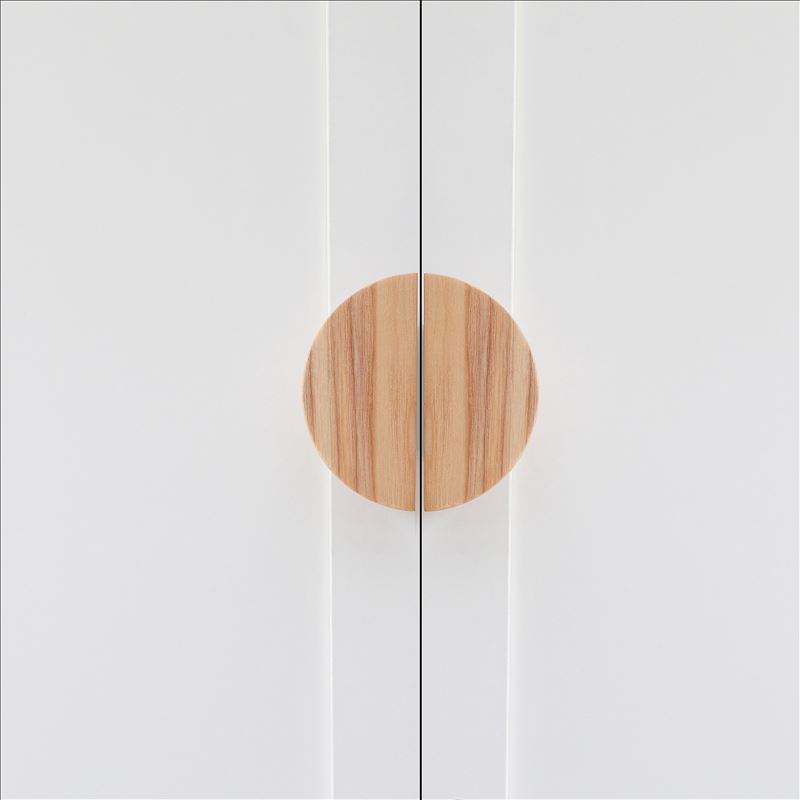
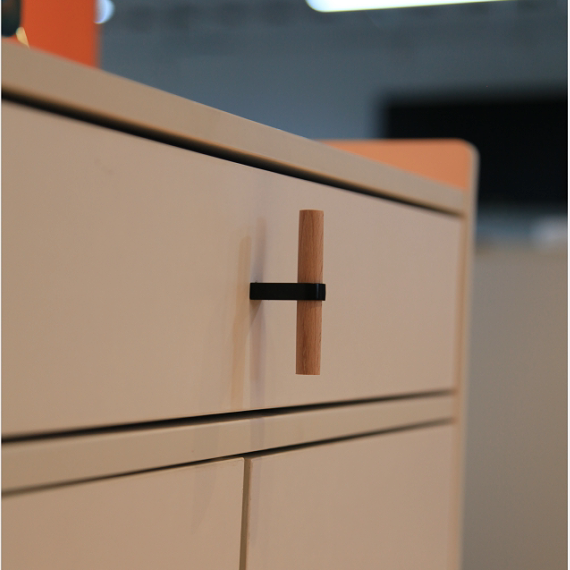
Installing wooden handles on furniture can be a rewarding DIY project that adds a personalized touch to your furniture pieces. Here’s a step-by-step tutorial to guide you through the process:
Materials You’ll Need:
- Wooden handles
- Furniture piece
- Measuring tape
- Pencil
- Drill
- Drill bits (appropriate size for screws)
- Screwdriver
- Screws
- Masking tape (optional)
- Level (optional)
Step 1: Prepare the Furniture and Handles
- Ensure the furniture piece is clean and free from dust or debris. If the furniture is already finished, take care to avoid scratching or damaging the surface.
- Measure and mark the desired location for each handle. Use a measuring tape, pencil, and level (if needed) to ensure accurate placement. If you’re replacing existing handles, measure the distance between the existing holes to maintain consistency.
Step 2: Drill Pilot Holes
- Select a drill bit that matches the diameter of the screws you’ll be using. A slightly smaller drill bit can be used to create pilot holes for easier screw insertion.
- Place the tip of the drill bit on the marked spot for the handle’s screw hole. Drill a pilot hole straight into the furniture. Be careful not to drill too deeply; the hole should be slightly shorter than the length of the screw.
Step 3: Attach the Handles
- Insert the screw into the hole of the handle from the back side.
- Align the handle with the pilot holes and insert the screws into the holes. Hold the handle in place with one hand while using the other to tighten the screws with a screwdriver.
- If the screws are longer than necessary, you can use a hacksaw to trim the excess length after attaching the handle.
Step 4: Secure the Handles
- Tighten the screws until the handles are securely attached to the furniture, but be cautious not to overtighten and risk damaging the wood or handle.
- If the handle wobbles slightly, you can place a small piece of cardboard or felt between the handle and the furniture to stabilize it.
Step 5: Finishing Touches
- Stand back and check the alignment of the handles. If they are not level or evenly spaced, make adjustments by loosening the screws slightly and repositioning the handle.
- Clean the handles and the furniture to remove any fingerprints, dirt, or smudges that might have accumulated during installation.
Step 6: Enjoy Your Updated Furniture
With the handles securely attached, your furniture piece has now been upgraded with a fresh, custom look. Step back and admire your work, and enjoy the improved functionality and aesthetics of your furniture.
Optional Tips:
- To ensure accurate and even spacing of multiple handles on a drawer or cabinet, you can use masking tape to create a template. Attach the tape to the furniture and mark the handle positions on the tape. Drill the pilot holes through the tape, and then remove the tape before attaching the handles.
- If the wood of the furniture is prone to splintering, you can place a small piece of masking tape over the area where you’ll be drilling the pilot holes. This can help prevent splintering as the drill bit penetrates the wood.
- If you’re uncomfortable using a drill, you can also use a manual screwdriver to attach the handles. Just ensure that the screws are securely fastened.
By following these steps and taking your time to ensure accuracy, you can successfully install wooden handles on your furniture, giving them a personalized and stylish update.