“Crafting Mastery: The Art of Carving Axe Handles with Precision and Skill” is undoubtedly a fascinating subject that blends craftsmanship, woodworking, and practical tool-making skills. Crafting a high-quality axe handle involves careful attention to detail, selection of appropriate materials, and the application of various woodworking techniques. Here’s an overview of the process:
1. Material Selection: Choosing the right wood for your axe handle is crucial. Traditionally, hickory and ash have been popular choices due to their strength, durability, and shock-absorbing properties. The wood should be straight-grained and free from knots or defects that could weaken the handle.
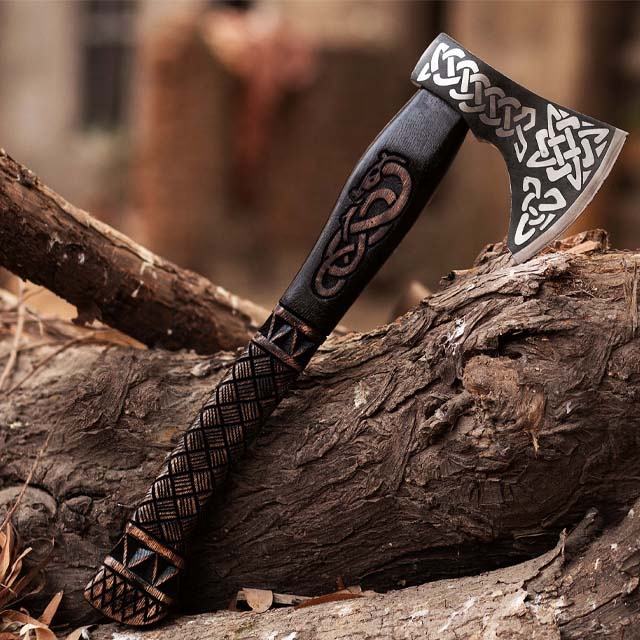
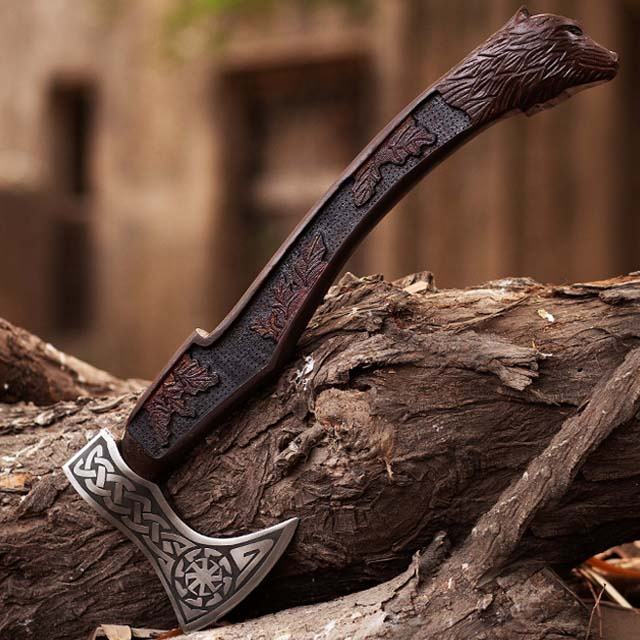
2. Axe Handle Design: Design your axe handle based on the intended use of the axe. Consider factors such as length, curvature, and grip shape. A well-designed handle should provide a comfortable grip and balance while allowing for efficient chopping.
3. Tools and Equipment: You’ll need a variety of woodworking tools, including a drawknife, carving gouges, spokeshaves, chisels, rasps, files, and sandpaper. Having a well-sharpened set of tools is essential for achieving precision and smoothness in your carving.
4. Rough Shaping: Begin by removing excess wood from the raw handle blank using a drawknife or other shaping tools. Create a rough outline of the handle’s final shape while leaving some room for refining the details later.
5. Carving Techniques: Employ carving techniques to shape the handle further. Carve the grip area to ensure it’s comfortable to hold, and create smooth transitions between the grip and the blade-end of the handle. Pay attention to ergonomics and aesthetics during this phase.
6. Grain Orientation: It’s important to ensure that the wood’s grain runs parallel to the length of the handle. This enhances the handle’s strength and durability, as well as its ability to absorb shocks.
7. Handle Attachment: If you’re replacing an existing handle, you’ll need to properly remove the old handle and clean the eye of the axe head. Fit the new handle into the eye snugly, ensuring a secure fit. Wedges and epoxy can be used to fix the handle in place.
8. Finishing: Once the handle is attached, refine the shape, smooth the surfaces, and round off any sharp edges. Sand the handle progressively with finer grits of sandpaper for a smooth finish. You can also apply a finish like linseed oil to protect the wood and enhance its appearance.
9. Testing and Adjusting: Before putting the axe into serious use, test it out on lighter tasks to ensure the handle is comfortable and well-balanced. Make any necessary adjustments based on your experience.
10. Ongoing Maintenance: Regularly inspect your axe handle for signs of wear, cracking, or damage. Keep it clean and occasionally apply a fresh coat of protective finish to prolong its lifespan.
Remember, mastering the art of carving axe handles with precision and skill takes time, practice, and patience. Each handle you create will offer an opportunity to refine your techniques and develop your expertise further.