“Craftsmanship Unleashed: Creating Custom Wooden Tool Handles” is a title that suggests a guide or article about making personalized wooden handles for various tools. Crafting custom tool handles can be a rewarding woodworking project that combines functionality with aesthetics. Below is a general outline of the steps one might take to create custom wooden tool handles:
Materials and Tools:
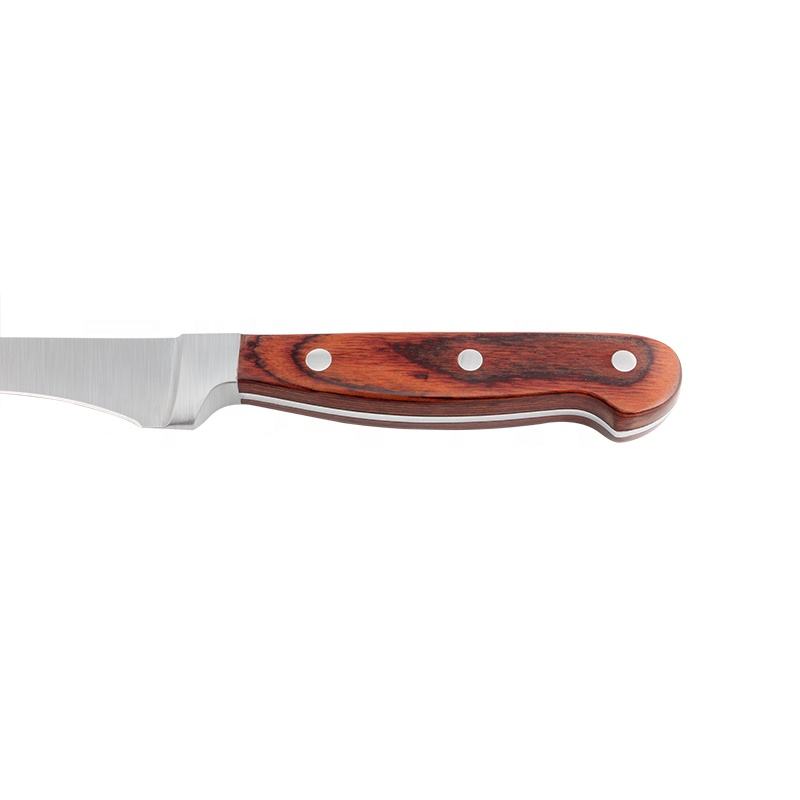
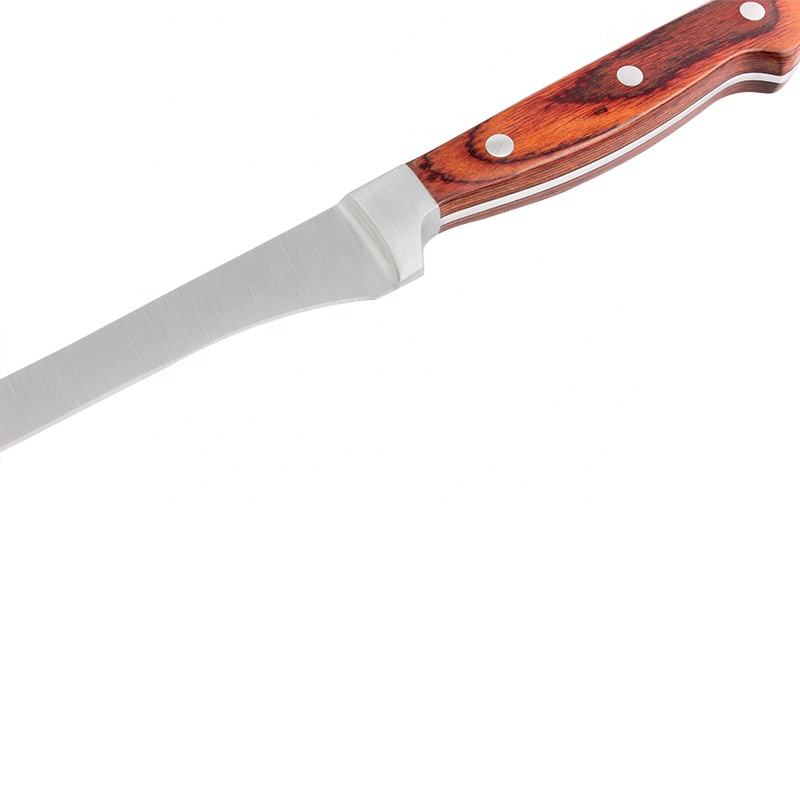
- Wood: Choose a hardwood like oak, maple, or walnut for durability and strength.
- Tools: Depending on the complexity of the project, you might need saws, chisels, rasps, sandpaper, a drill, and a lathe (if available).
Step-by-Step Guide:
1. Select the Tool: Choose the tool for which you want to create a custom handle. It could be a hammer, screwdriver, chisel, or any other hand tool.
2. Measure and Design: Measure the existing handle’s dimensions for reference, or design your handle according to your preferences. Decide on the length, diameter, and shape of the handle. Keep in mind ergonomics and comfort during use.
3. Choose the Wood: Select a hardwood that matches your design and provides the desired strength and durability. Consider the wood’s grain pattern for aesthetics.
4. Prepare the Wood: Cut the selected wood to the desired length for the handle. Use a saw to create a rough shape, leaving extra material for adjustments.
5. Shaping: Use tools like chisels, rasps, and sandpaper to shape the rough-cut wood into the desired handle shape. Pay attention to creating comfortable grips and smooth curves.
6. Drilling and Fitting: If the tool requires a hole for the handle, use a drill to create the appropriate opening. Make sure the hole is sized to fit snugly onto the tool’s metal shaft.
7. Finishing: Sand the handle to achieve a smooth surface. You can use progressively finer grits of sandpaper to achieve a polished finish. Apply a wood finish such as varnish, oil, or wax to protect the wood and enhance its appearance.
8. Personalization: Consider adding personal touches like carved designs, patterns, or your initials to the handle to make it truly unique.
9. Attaching the Handle: If the tool’s head needs to be attached to the wooden handle, follow appropriate methods. For example, with a hammer, you might use a wedge or epoxy adhesive to secure the handle in place.
10. Testing and Refining: Test the handle with the tool to ensure it feels comfortable and performs well. Make any necessary adjustments to the shape or finish for a final touch.
11. Maintenance: Advise the user on how to care for the wooden handle to ensure its longevity. This might include recommendations for reapplying finishes and preventing moisture damage.
Creating custom wooden tool handles can be both a practical and creative endeavor. It allows you to tailor your tools to your needs while also expressing your woodworking skills. Just remember to prioritize safety and functionality during the crafting process.