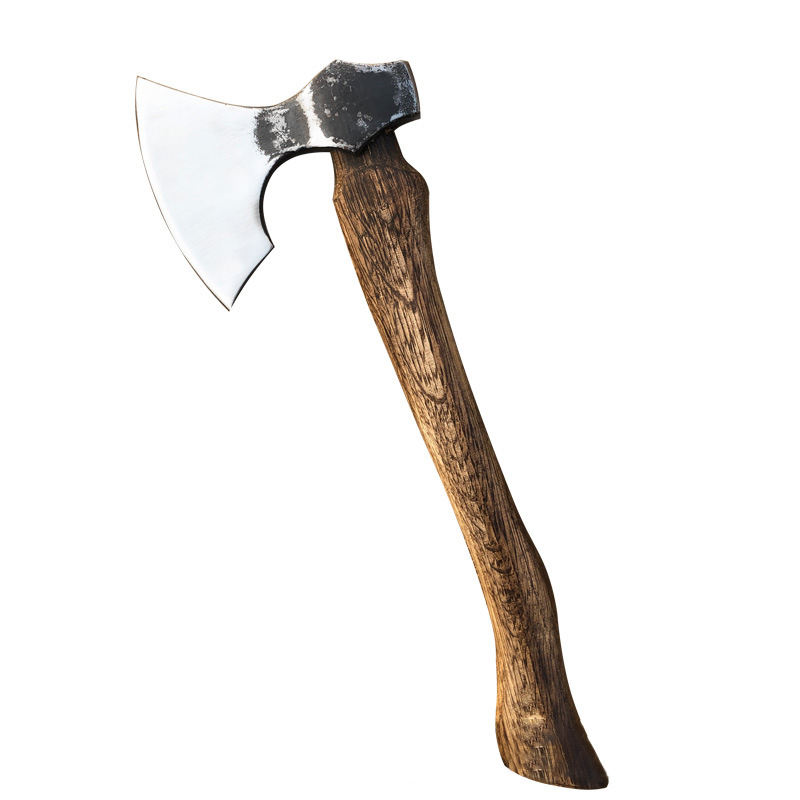
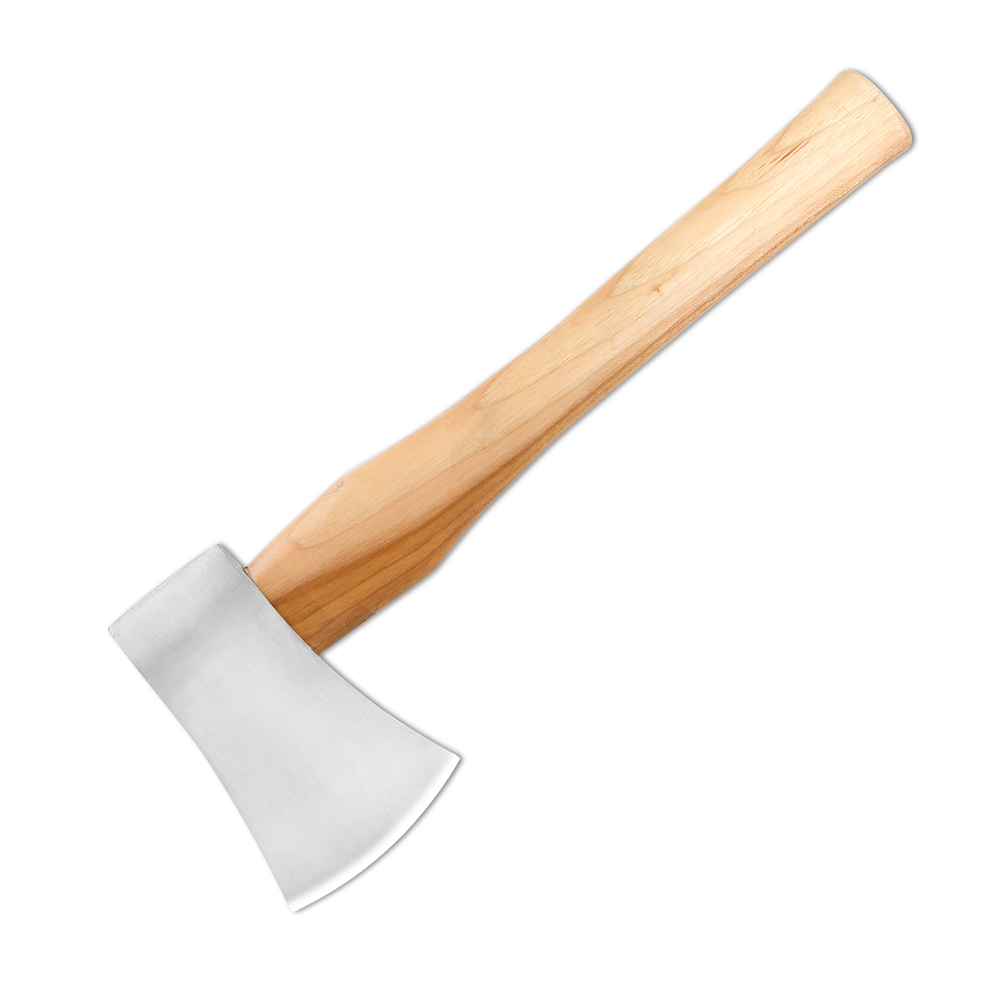
Making your own wooden tool handles at home is a rewarding DIY woodworking project that allows you to customize your tools for comfort and functionality. Here’s a step-by-step guide to help you create wooden tool handles:
Materials and Tools You’ll Need:
- Hardwood stock (e.g., oak, maple, cherry)
- Carving tools (chisels, gouges, carving knives)
- Saw (handsaw or band saw)
- Sandpaper (various grits)
- Rasp and files
- Clamps
- Wood glue
- Finish (varnish, oil, wax)
- Safety goggles and gloves
Step-by-Step Guide:
1. Design and Planning:
- Sketch your handle design, considering ergonomics, grip comfort, and the tool’s function.
- Determine the required dimensions for the handle length, diameter, and shape.
2. Select the Wood:
- Choose a hardwood that suits your project. Consider durability, aesthetics, and wood availability.
3. Cutting the Stock:
- Cut a section of the hardwood stock to the length needed for the handle.
4. Rough Shaping:
- Use a saw to roughly shape the handle’s profile, leaving extra material for adjustments.
5. Carving and Shaping:
- Use carving tools to shape the handle according to your design.
- Carve out the grip area, ensuring it’s comfortable and ergonomic.
- Gradually refine the shape, working from larger to smaller tools for details.
6. Smoothing and Sanding:
- Use rasps, files, and sandpaper to smooth the handle’s surface.
- Start with a coarse grit and progress to finer grits for a polished finish.
7. Testing and Adjustments:
- Test the handle’s fit with the tool to ensure it feels comfortable and secure.
- Make any necessary adjustments to the shape or grip based on the tool’s use.
8. Apply Finish:
- Apply a wood finish (varnish, oil, wax) to protect the wood and enhance its appearance.
- Follow the finish manufacturer’s instructions for application and drying times.
9. Attach the Handle (if applicable):
- If the tool requires attachment to the handle, use appropriate methods such as drilling holes and securing with glue, wedges, or hardware.
10. Final Touches:
- Inspect the handle for any rough spots, tool marks, or imperfections.
- Sand or refine these areas for a smooth and polished finish.
11. Care and Maintenance:
- Advise the user on how to care for the wooden handle to ensure its longevity and functionality.
- Provide instructions for cleaning, reapplying finishes, and proper storage.
Creating your own wooden tool handles at home not only customizes your tools but also allows you to showcase your woodworking skills. With careful planning, attention to detail, and the right techniques, you can craft functional and beautiful handles that enhance your tools’ performance and aesthetic appeal.


