The journey from a raw log to a finished wooden tool handle is a fascinating woodworking process that involves various stages of preparation, shaping, and refinement. Here’s an overview of the steps involved in transforming a log into a functional and beautiful tool handle:
1. Log Selection: Choose a suitable log based on the type of wood you need for your tool handle. Consider factors such as wood species, grain pattern, size, and quality. Hardwoods like oak, maple, and hickory are commonly chosen for their strength and durability.
2. Log Preparation: Prepare the log by removing any branches, knots, or irregularities. This helps create a smoother and more uniform starting point for the handle.
3. Sawing: The log is then sawn into sections, often referred to as “blanks,” which are closer in size to the desired handle length. This step makes it more manageable to work with and reduces the amount of material that needs to be removed during shaping.
4. Rough Shaping: Using tools like a hatchet, drawknife, or bandsaw, begin rough shaping the blank into a basic handle profile. This involves removing excess wood and establishing the general dimensions of the handle.
5. Carving and Shaping: Using carving tools such as chisels, gouges, and carving knives, carve and shape the handle to its final design. Pay close attention to ergonomics, grip comfort, and aesthetics. This stage requires precision and skill to achieve the desired shape and functionality.
6. Sanding and Smoothing: After the initial shaping is complete, use progressively finer grits of sandpaper to smooth the handle’s surface. This step removes tool marks, roughness, and imperfections, resulting in a polished and tactile finish.
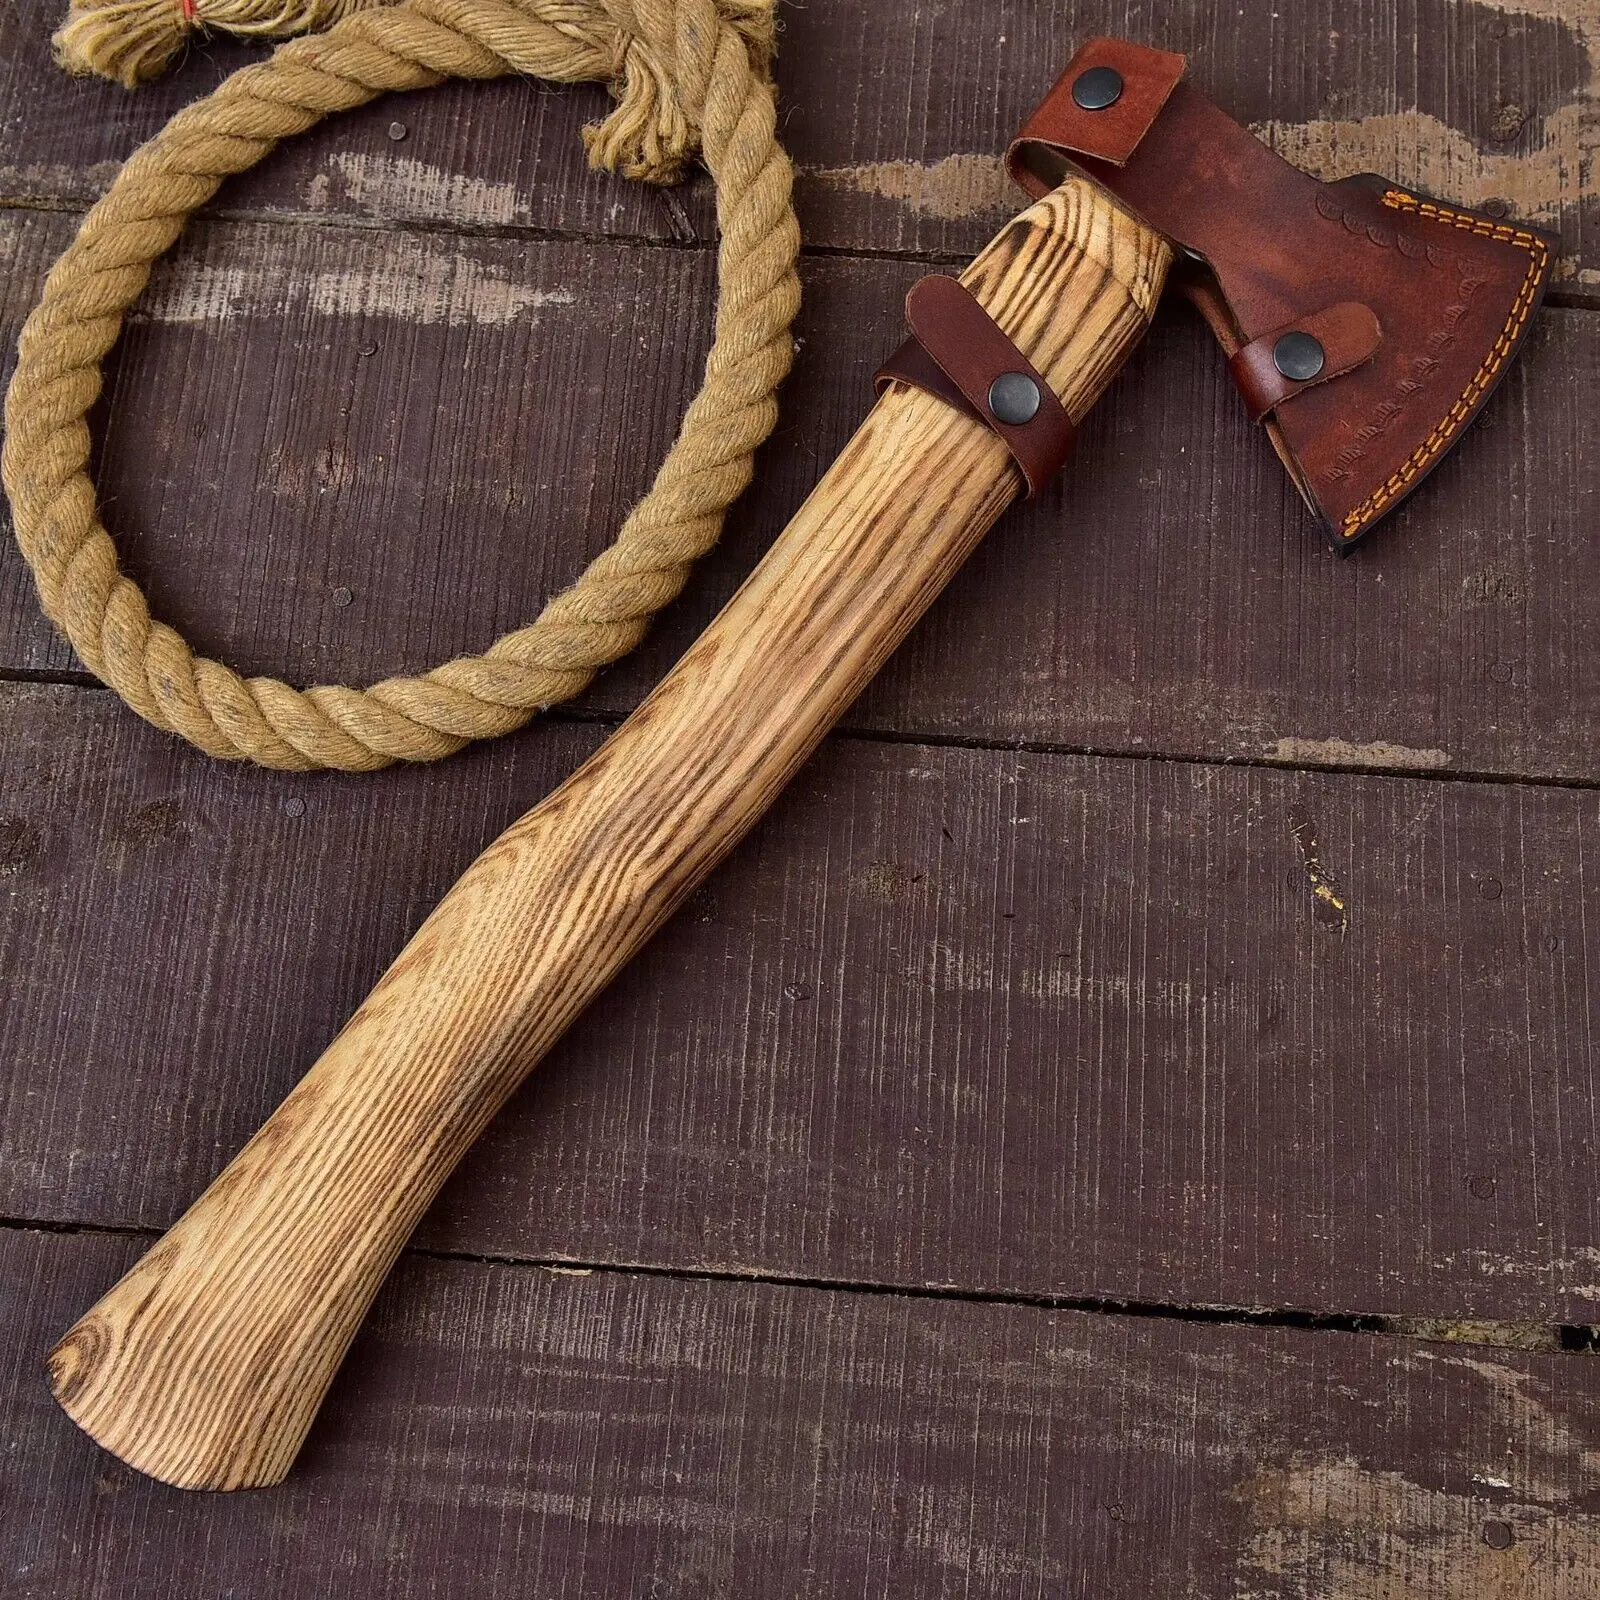
7. Finishing: Apply a wood finish such as varnish, oil, or wax to protect the wood and enhance its appearance. Finishes not only provide a layer of protection but also bring out the wood’s natural beauty and color.
8. Final Touches: Inspect the handle for any remaining rough spots or inconsistencies. Make any final adjustments to ensure a comfortable grip and a visually pleasing result.
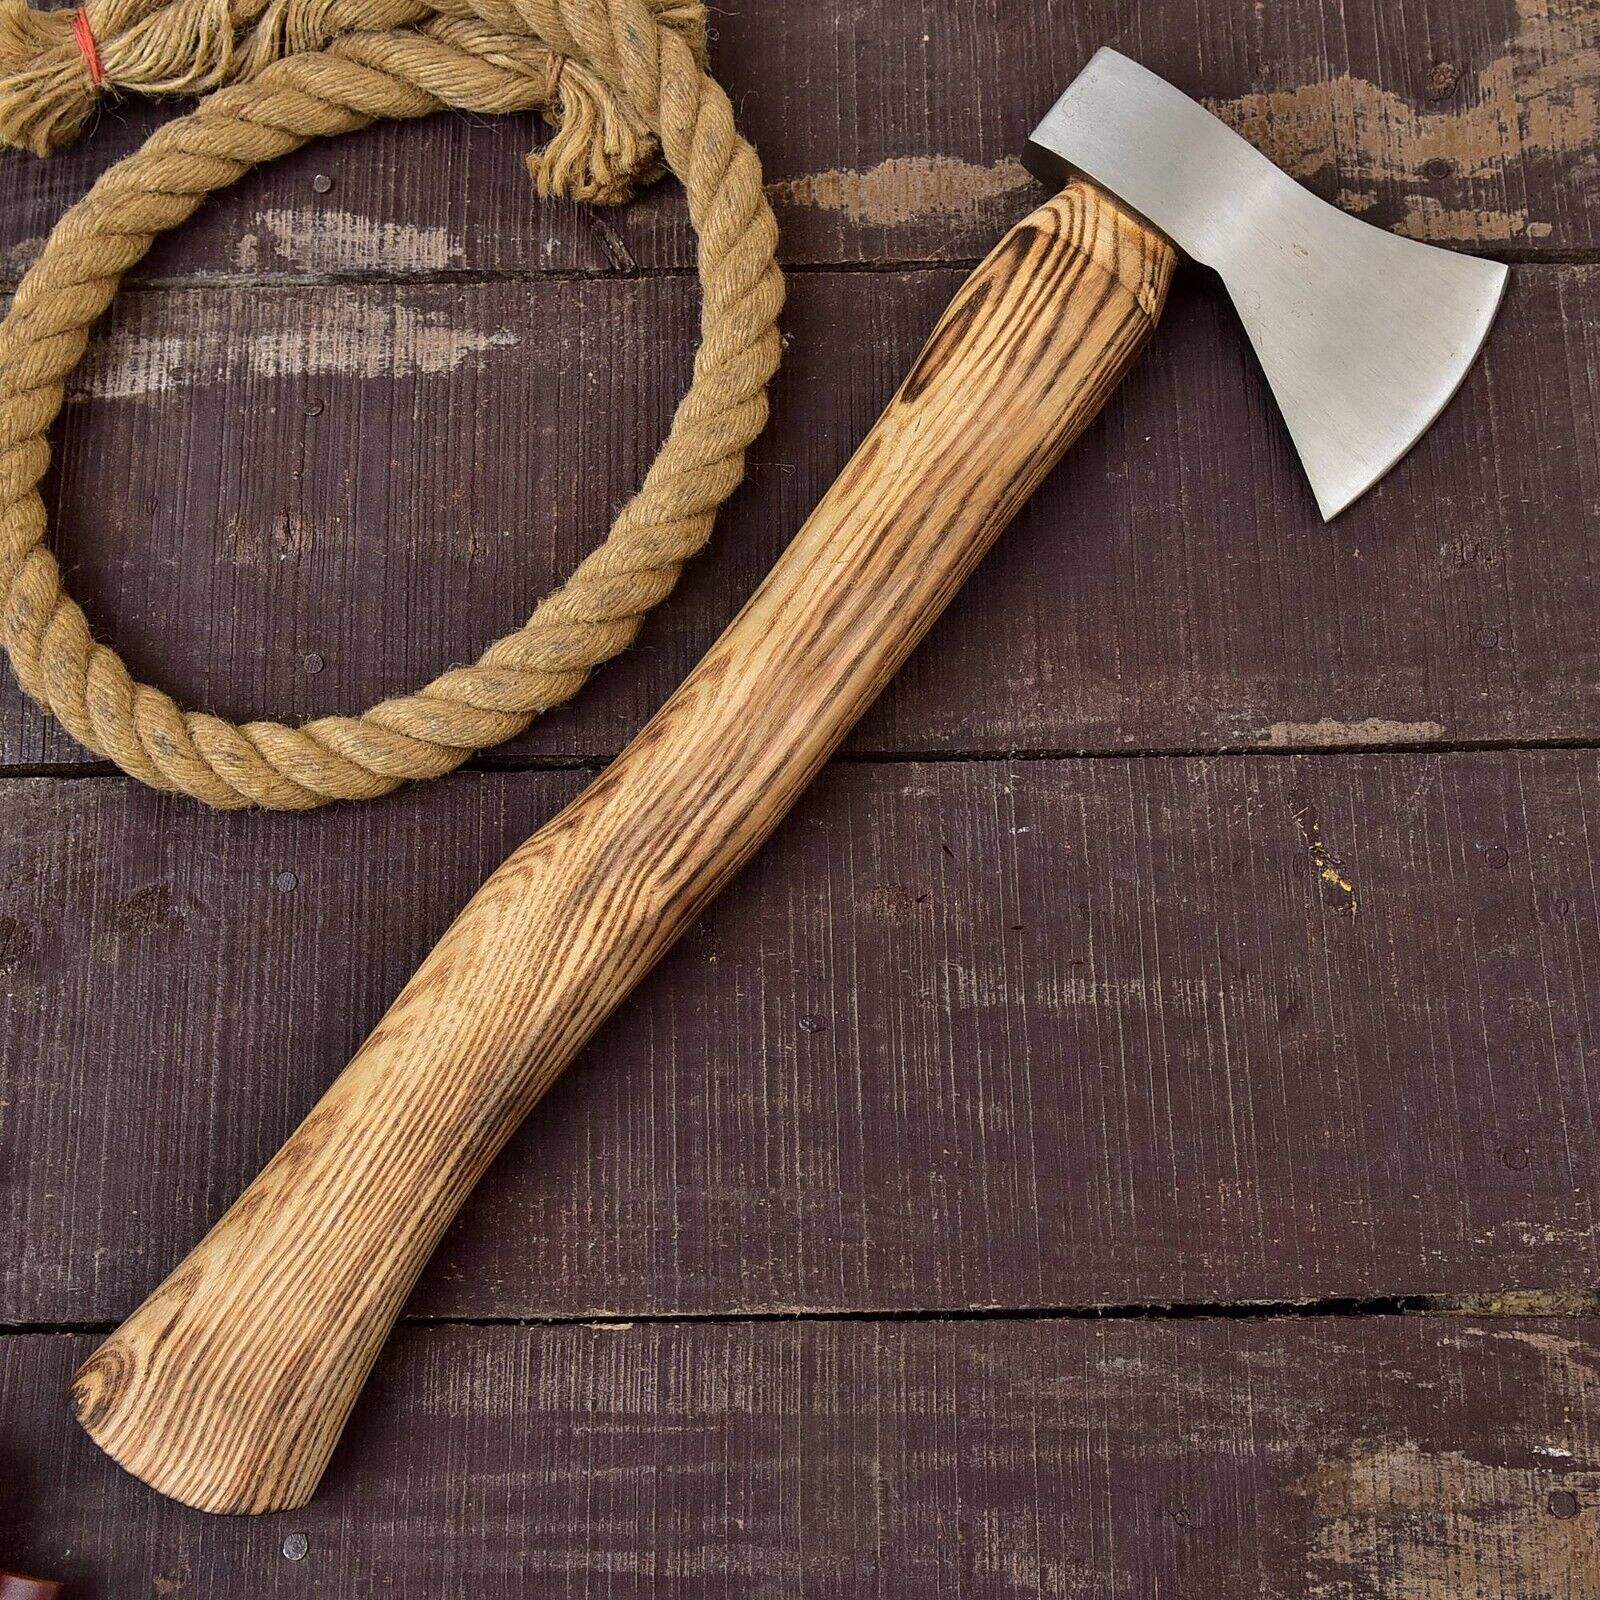
9. Attachment (if applicable): For some tool handles, such as those for hammers or axes, you’ll need to attach the handle to the tool head. This may involve drilling holes and securing the handle using wedges, epoxy, or other appropriate methods.
10. Quality Check: Before using the tool, perform a quality check to ensure the handle is securely attached and that there are no defects that could compromise its strength or safety.
The process of transforming a log into a handle requires a combination of woodworking skills, precision, and an artistic eye. Each step contributes to the final result, showcasing both the natural beauty of the wood and the craftsman’s expertise. Whether for a simple hand tool or a decorative piece of art, this process exemplifies the merging of nature’s resources with human ingenuity and creativity.