The journey of crafting wooden handles for furniture is a fascinating process that begins with selecting the right wood and ends with a functional and aesthetically pleasing handle. This journey involves various steps, each contributing to the creation of a unique and personalized piece. Here’s an overview of the journey from tree to room when crafting wooden handles:
1. Wood Selection:
The journey starts with choosing the right wood for your handles. Consider factors such as the wood’s hardness, grain pattern, color, and availability. Different wood species offer distinct characteristics that will impact the final look and feel of the handles.
2. Tree Harvesting:
Once the wood species is chosen, the journey begins with harvesting the trees. If sustainability is a concern, look for responsibly sourced wood from well-managed forests.
3. Milling and Preparation:
After harvesting, the logs are transported to a sawmill where they are cut into usable planks. These planks are then dried to reduce moisture content, making the wood suitable for woodworking projects.
4. Design and Planning:
With the dried wood ready, you’ll begin designing your handles. Consider the shape, size, ergonomics, and aesthetic details that will enhance your furniture piece. Sketch out your design and plan the carving or shaping process.
5. Carving and Shaping:
Using woodworking tools like chisels, carving knives, and saws, you’ll start carving and shaping the handles. This step requires precision and skill to achieve the desired form and functionality.
6. Detail Work:
If your design involves intricate patterns, carvings, or textures, this is the stage where you’ll add those artistic touches. These details can turn a simple handle into a work of art.
7. Sanding and Smoothing:
After carving and detailing, sand the handles to smooth out any rough edges or surfaces. Start with coarse-grit sandpaper and progressively move to finer grits for a polished finish.
8. Finishing:
Applying a finish is essential to protect the wood and enhance its appearance. Choose a finish that aligns with your design vision and the intended use of the furniture piece. Common finishes include varnish, wax, oil, or stain.
9. Testing and Fitting:
Test-fit the handles on the furniture to ensure they match the overall aesthetics and feel comfortable in the hand. Make any necessary adjustments to ensure a perfect fit.
10. Attaching and Securing:
Using wood glue and clamps, attach the handles to the furniture. Follow proper adhesive techniques to ensure a strong and durable bond.
11. Final Inspection:
Inspect the handles for any defects, rough spots, or imperfections. Sand or touch up as needed to achieve a flawless finish.
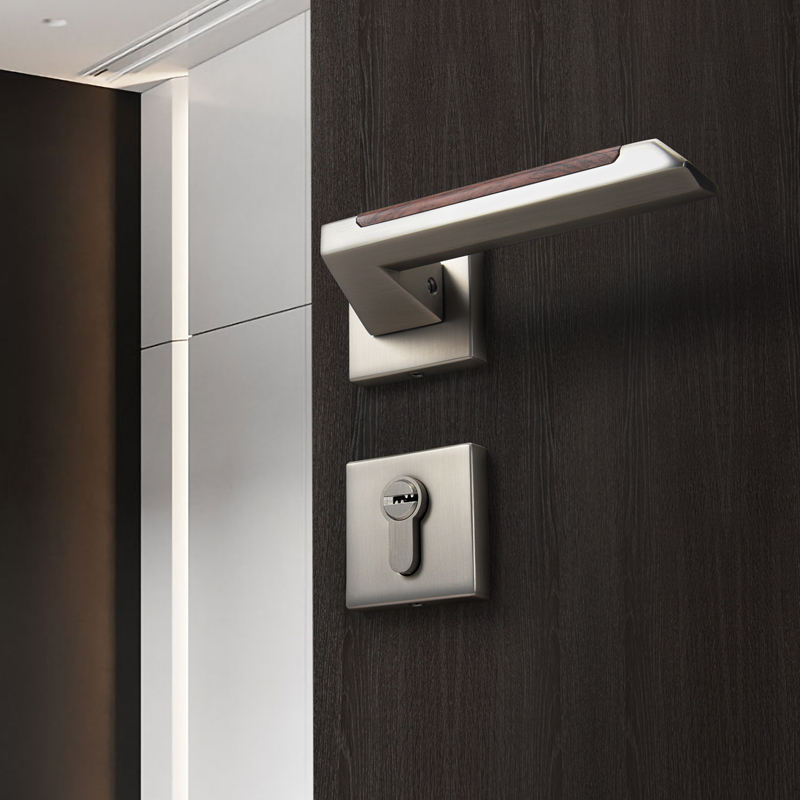
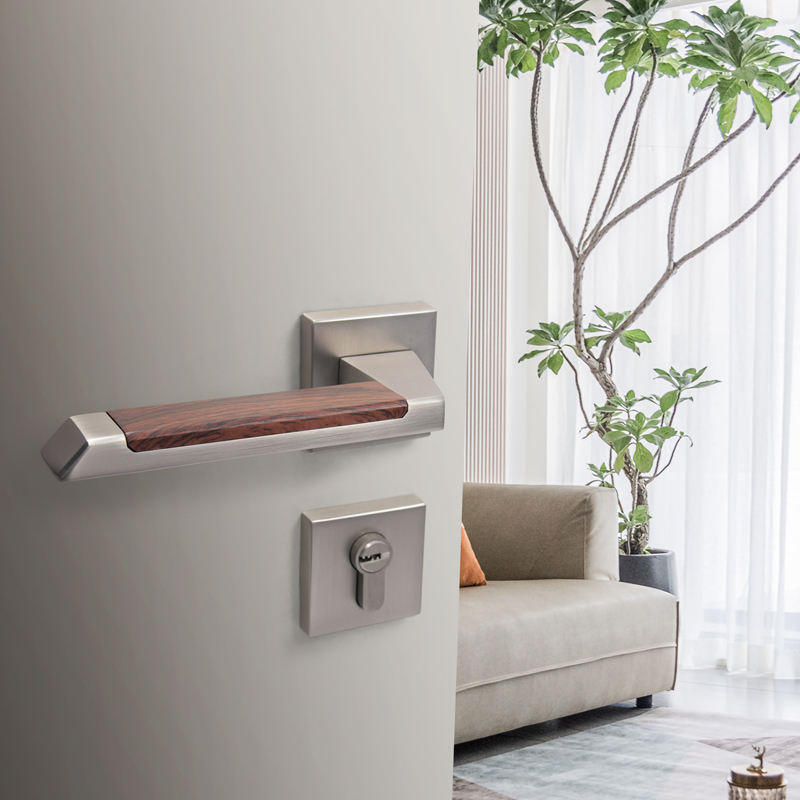
12. Installation:
Finally, your furniture handles are ready to be installed in their intended locations. Whether they’re drawer pulls, cabinet handles, or door knobs, your handles will now serve both a functional and aesthetic purpose.
From selecting the right wood to the final installation, the journey of crafting wooden handles is a blend of woodworking skills, creativity, and dedication. This journey transforms raw materials into functional works of art that enhance the beauty and functionality of furniture, creating a seamless connection between the natural world and the spaces we inhabit.