Reviving old tools by replacing their worn-out handles with new wooden ones is a rewarding project that can breathe new life into your tools and enhance their functionality. Here’s a step-by-step guide to help you rejuvenate old tools by adding new wooden handles:
Materials and Tools You’ll Need:
- Old tools in need of handle replacement
- Hardwood stock for the new handles
- Saw (handsaw or band saw)
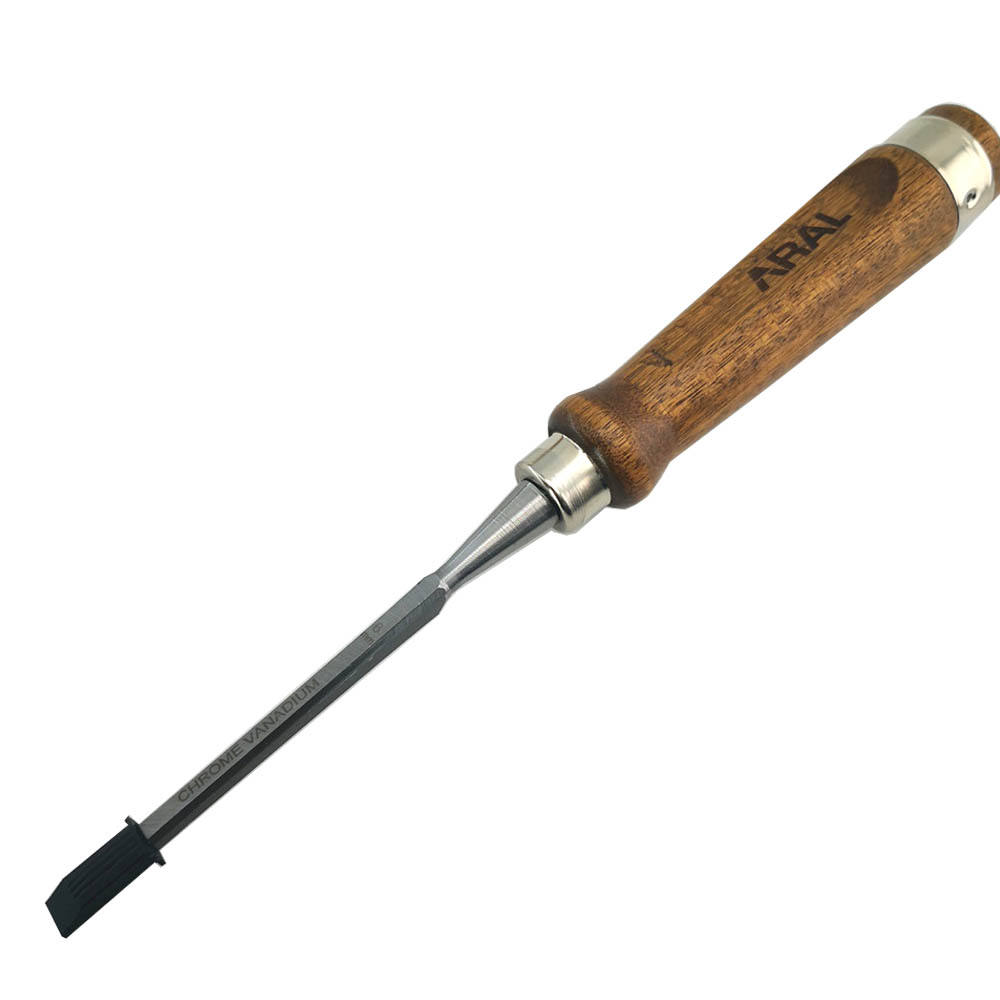
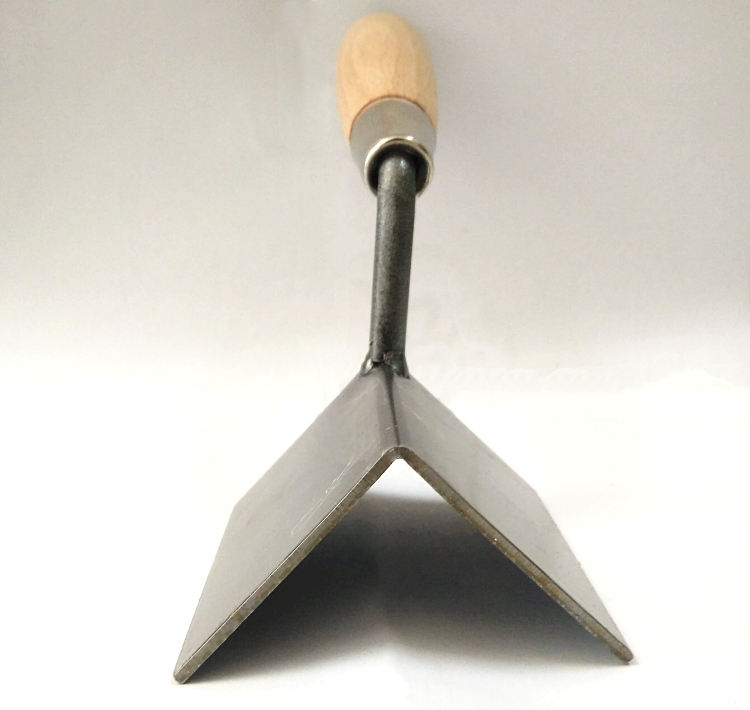
- Carving tools (chisels, gouges, carving knives)
- Sandpaper (various grits)
- Wood glue
- Hammer and nails (if applicable)
- Finish (varnish, oil, wax)
- Safety goggles and gloves
Step-by-Step Guide:
1. Assess the Tools: Examine the old tools to determine if the handles need replacement due to damage, wear, or discomfort. Make sure the tool heads are still in good condition and can be reused.
2. Select the Wood: Choose a suitable hardwood for the new handles. Consider the tool’s function, ergonomics, and your personal preferences. Common hardwoods include oak, maple, and hickory.
3. Remove Old Handles: Carefully remove the old handles from the tool heads. You may need to use pliers, a hammer, or other tools to extract nails or pins holding the handle in place.
4. Cut New Handle Blanks: Cut hardwood stock into rough handle blanks that are slightly longer than the final handle length. Use a saw to create a rectangular or cylindrical shape.
5. Shaping the Blanks: Shape the blanks by cutting, carving, and sanding to achieve the desired handle shape and dimensions. Consider ergonomics and grip comfort while shaping.
6. Test Fit: Before finalizing the shape, test fit the handle blanks onto the tool heads. Ensure that they sit securely and comfortably in your hand.
7. Carving and Details: Use carving tools to add details, contours, and ergonomic features to the handles. Carve out the grip area for comfort and control.
8. Sanding: Sand the handles to create a smooth and polished surface. Start with coarser grits and progress to finer grits for a refined finish.
9. Apply Finish: Apply a suitable finish to the handles to protect the wood and enhance its appearance. Follow the finish manufacturer’s instructions for application and drying times.
10. Attach Handles: If the tool heads require holes for handle attachment, drill corresponding holes in the handles. Attach the handles using wood glue, nails, or pins, depending on the tool type.
11. Final Touches: Inspect the newly attached handles for any rough spots, gaps, or imperfections. Sand or adjust as needed to ensure a comfortable and secure fit.
12. Test and Enjoy: Test the rejuvenated tools to ensure the new handles provide the desired functionality and comfort. Enjoy using your revitalized tools for years to come.
Rejuvenating old tools with new wooden handles not only preserves the tools’ history but also makes them functional and beautiful once again. This DIY project allows you to combine woodworking skills with practicality, resulting in tools that are not only reliable but also a pleasure to use.