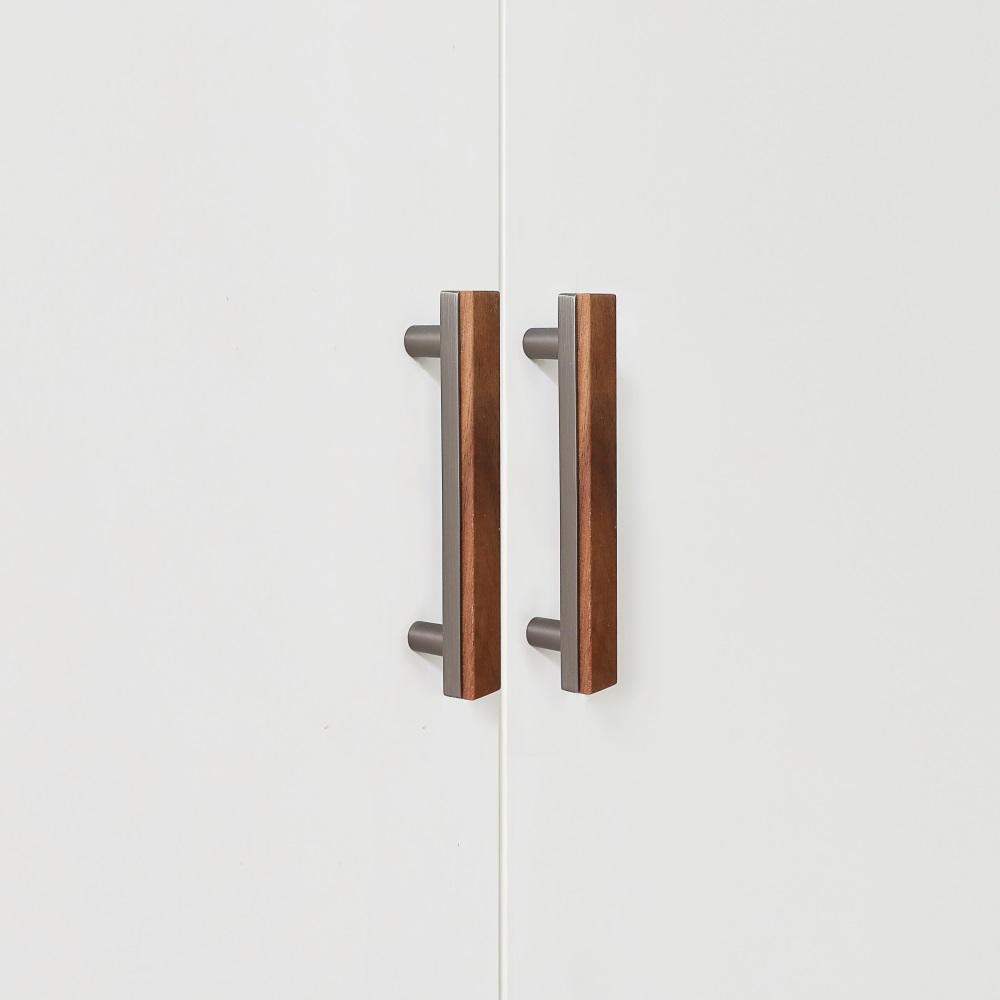
Carving wooden handles can elevate your DIY projects by adding a personal touch, enhancing functionality, and showcasing your woodworking skills. Whether you’re creating custom tool handles, furniture pieces, or decorative items, mastering the art of carving can bring a unique and artistic dimension to your creations. Here’s a guide to help you get started:
1. Selecting the Right Wood: Choose a hardwood with favorable carving properties. Woods like oak, cherry, walnut, and maple are popular choices due to their durability and workability.
2. Design and Planning: Visualize the final design of your carved handle. Consider the shape, pattern, and style that would complement the tool or item you’re working on. Sketch your design on paper or use digital design software if necessary.
3. Essential Tools: Invest in quality carving tools such as chisels, gouges, and carving knives. The tools you’ll need depend on the intricacy of your design. Sharpen your tools regularly to ensure clean cuts.
4. Safety Precautions: Wear safety goggles, dust masks, and appropriate protective gear when carving. Carving tools are sharp and can generate wood chips and dust that may be harmful if inhaled.
5. Carving Techniques: Practice the fundamental carving techniques to achieve precise and controlled cuts:
- Whittling: This involves removing small chips of wood to shape the handle. It’s great for creating intricate designs.
- Relief Carving: Involves carving a design into the surface while leaving the surrounding wood untouched. This is common for decorative pieces.
- Chip Carving: Creating intricate geometric or angular designs by removing small chips from the wood’s surface.
- Gouge Carving: Using curved or U-shaped tools to carve concave or convex shapes.
6. Step-by-Step Carving Process:
- Secure your wooden piece in a vise or clamp to prevent movement while carving.
- Begin with rough shaping, removing excess wood to achieve the basic form of your design.
- Gradually refine the shape, working from larger tools to smaller ones for intricate details.
- Create depth by carving away material in layers. Pay attention to shadows and highlights to give your carving depth and dimension.
- Smooth the surface using sandpaper, progressing from coarse to fine grits.
- Apply a finish to protect the wood and enhance the appearance of your carving. Options include oil, varnish, or wax.
7. Experiment and Practice: Carving is a skill that improves with practice. Start with simpler designs and gradually challenge yourself with more complex projects. Experiment with different carving techniques and tools to expand your skills.
8. Patience and Precision: Carving requires patience and attention to detail. Take your time to ensure each cut is intentional and precise. Small, controlled cuts are often more effective than trying to remove large amounts of material at once.
9. Learn from Others: Study the work of experienced woodcarvers. Books, online tutorials, and workshops can provide valuable insights and techniques to help you refine your skills.
10. Enjoy the Process: Carving wooden handles is not only about the end result but also the meditative and creative process itself. Embrace the journey and enjoy the satisfaction of transforming a simple piece of wood into a work of art.
With practice and dedication, carving wooden handles can become a fulfilling and rewarding aspect of your woodworking projects, allowing you to add a unique and artistic flair to your creations.


