Restoring vintage tools with new wooden handles is a nostalgic journey that allows you to revive the tools of yesteryears and bring them back to functional glory. Here’s a step-by-step guide to restoring vintage tools by replacing their wooden handles:
Materials and Tools You’ll Need:
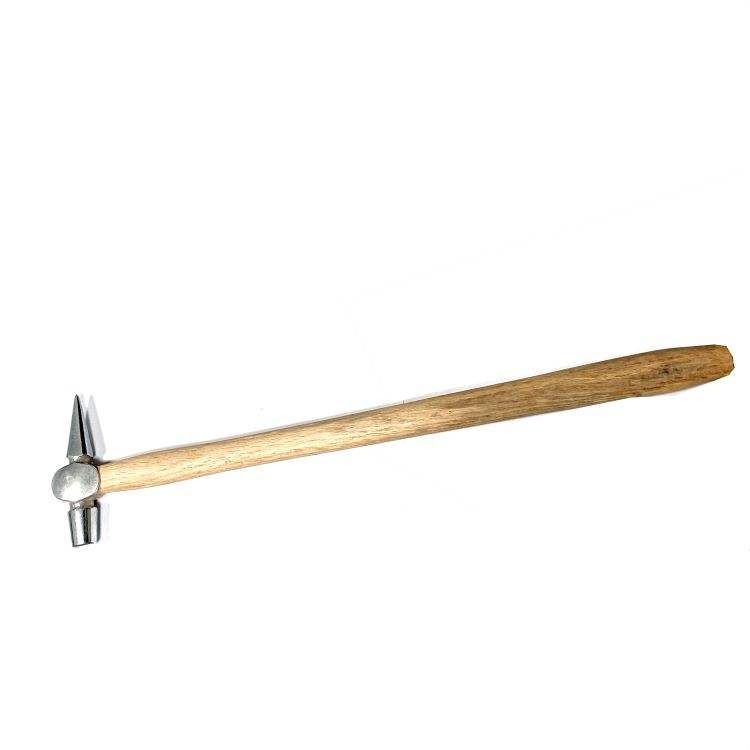
- Vintage tools in need of handle restoration
- Hardwood stock for the new handles
- Saw (handsaw or band saw)
- Carving tools (chisels, gouges, carving knives)
- Sandpaper (various grits)
- Wood glue
- Hammer and nails (if applicable)
- Finish (varnish, oil, wax)
- Safety goggles and gloves
Step-by-Step Restoration Process:
1. Assess the Tools: Examine the vintage tools to determine the extent of restoration needed. Check for damaged or missing handles, as well as any other issues that require attention.
2. Research and Documentation: Research the original design and specifications of the tool handles. Vintage tool catalogs, online resources, and historical documentation can provide valuable insights.
3. Select the Wood: Choose a hardwood for the new handles that closely matches the original wood species used in the vintage tools. If historical accuracy is important, select a wood that was commonly used during the tool’s era.
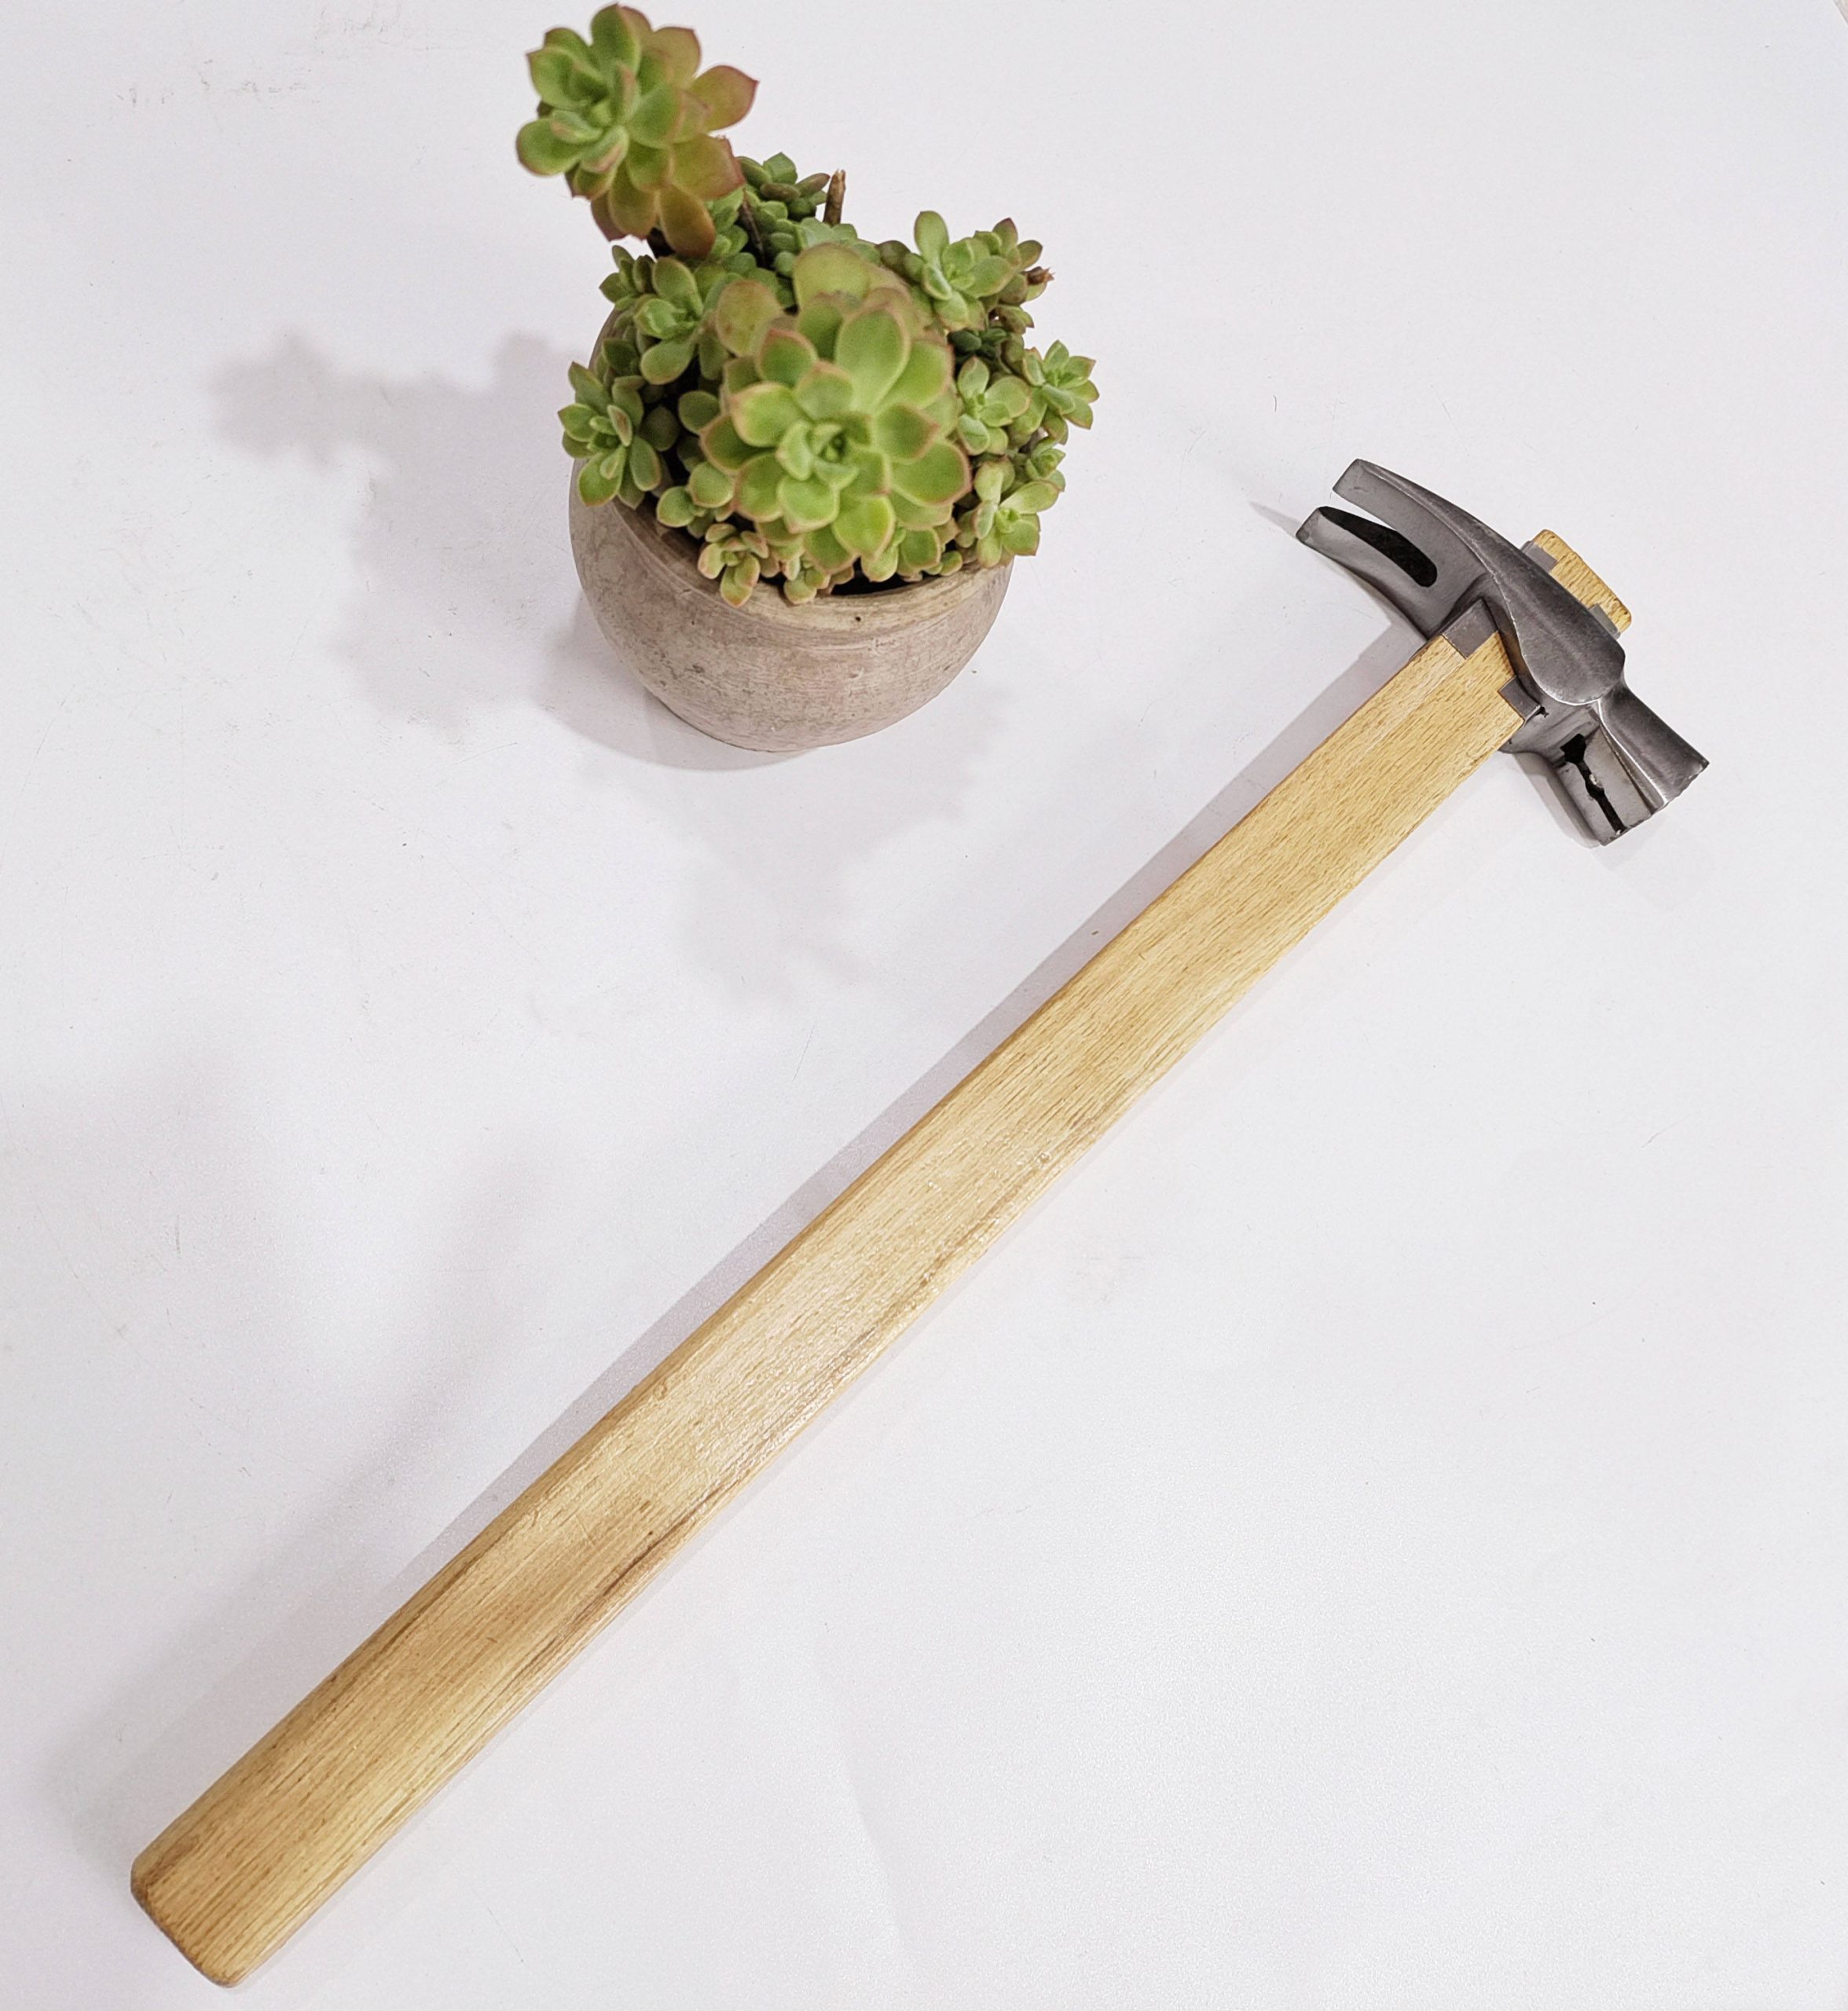
4. Remove Old Handles: Carefully remove the old handles from the tool heads. If there are nails, pins, or wedges holding the handles, extract them using appropriate tools.
5. Cut New Handle Blanks: Cut the hardwood stock into rough handle blanks that are slightly longer than the final handle length. Use a saw to create a rectangular or cylindrical shape.
6. Shaping the Blanks: Shape the blanks by cutting, carving, and sanding to achieve the desired handle shape and dimensions. Follow the original design as closely as possible.
7. Test Fit: Before finalizing the shape, test fit the handle blanks onto the tool heads. Ensure they fit securely and comfortably in your hand.
8. Carving and Details: Use carving tools to add any details, contours, or decorative elements present in the original design. Take your time to replicate these features accurately.
9. Sanding: Sand the handles to create a smooth and polished surface. Start with coarser grits and progress to finer grits for a refined finish.
10. Apply Finish: Apply a finish to the handles to protect the wood and enhance its appearance. Historical accuracy may influence your choice of finish. Apply multiple coats as needed.
11. Attach Handles: If the tool heads require holes for handle attachment, drill corresponding holes in the handles. Attach the handles using wood glue, nails, or pins, following the original attachment method.
12. Final Touches: Inspect the attached handles for any rough spots, gaps, or imperfections. Sand or adjust as needed to ensure a comfortable and secure fit.
13. Enjoy the Restored Tools: Test the restored vintage tools to ensure they are functional and comfortable to use. Display them proudly in your workshop, and appreciate the nostalgia and craftsmanship they represent.
Restoring vintage tools with new wooden handles is a labor of love that pays tribute to the craftsmanship of the past while giving new life to cherished tools. By following historical accuracy and meticulous craftsmanship, you can enjoy the satisfaction of seeing these tools back in action and preserving a piece of history.