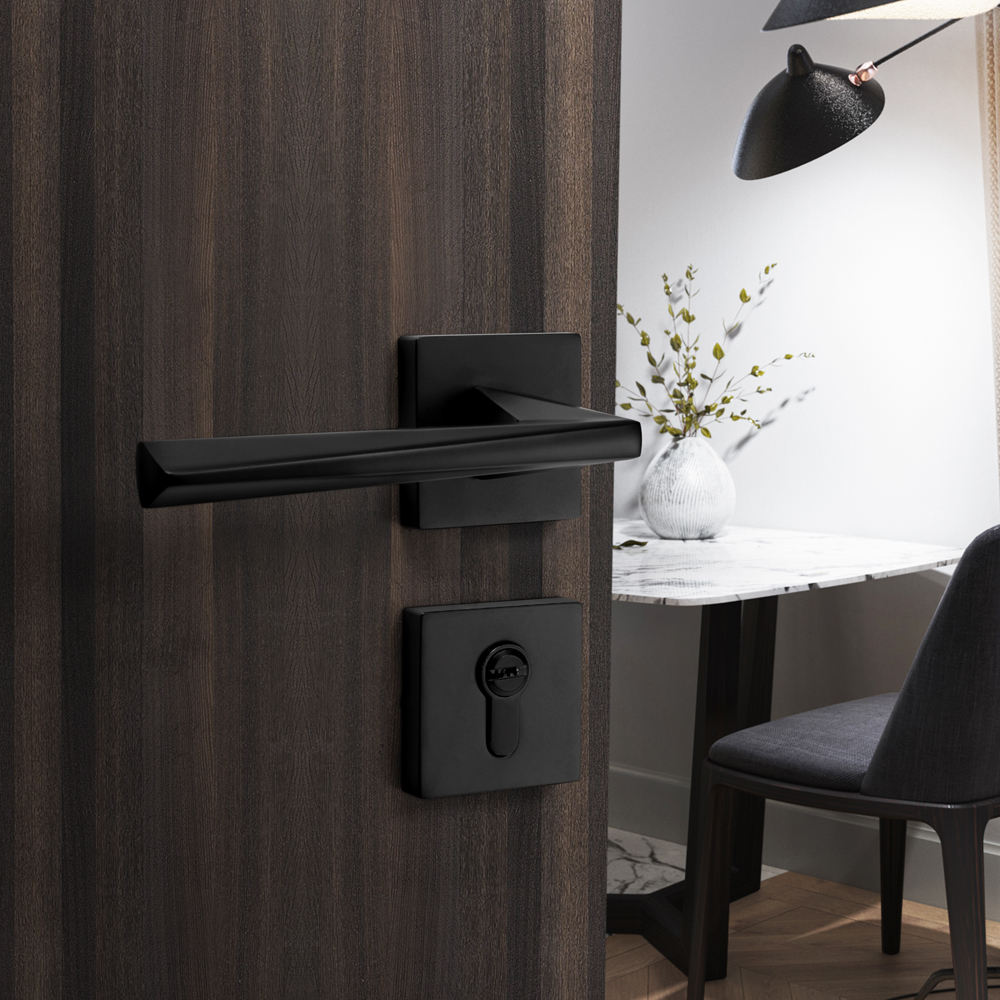
Making your own wooden furniture handles can be a rewarding woodworking project that adds a personal touch to your furniture pieces. With the right tools and techniques, you can create handles that are not only functional but also showcase your craftsmanship. Here’s a step-by-step guide to help you make your own wooden furniture handles:
Materials You’ll Need:
- Wood of your choice (hardwood like oak, walnut, cherry, or maple)
- Woodworking tools (chisels, carving knives, coping saw, etc.)
- Sandpaper or sanding tools
- Wood glue
- Clamps
- Finish (wood stain, varnish, wax, etc.)
- Measuring tools (ruler, calipers, etc.)
- Pencil or marker
- Safety equipment (safety glasses, dust mask, etc.)
Step-by-Step Process:
1. Design and Planning:
- Begin by sketching out your handle design. Consider the shape, size, and overall style that will complement your furniture piece.
2. Wood Selection:
- Choose a wood species that matches your design and furniture aesthetics. Consider the wood’s color, grain pattern, and hardness.
3. Prepare the Wood:
- Cut the wood into appropriate lengths for your handles. Ensure the wood is dry and free from defects.
4. Carving and Shaping:
- Use woodworking tools to shape the handles. Start with rough cuts and gradually refine the shape, keeping ergonomics in mind.
5. Add Details:
- If desired, add decorative details using carving tools. You can create patterns, motifs, or textures to personalize your handles.
6. Sanding:
- Sand the handles to smooth out rough surfaces and edges. Start with coarse-grit sandpaper and progress to finer grits for a polished finish.
7. Test Fit and Adjustments:
- Test-fit the handles on your furniture to ensure they fit well and feel comfortable to grip. Make any necessary adjustments.
8. Gluing and Attaching:
- Apply wood glue to the handles and attach them to the furniture. Use clamps to hold them in place while the glue dries. Follow the glue manufacturer’s instructions for drying time.
9. Finishing Touches:
- Apply a finish to protect and enhance the wood’s appearance. Choose a finish that matches your design vision, such as a clear varnish or a colored stain.
10. Final Inspection:
- Once the finish is dry, inspect the handles for any defects or rough spots. Sand or touch up as needed.
11. Admire Your Work:
- Stand back and appreciate your craftsmanship. Your homemade wooden furniture handles have transformed your furniture into unique pieces of functional art.
Remember that woodworking skills develop over time, so don’t be discouraged if your first attempt isn’t perfect. With practice, you’ll refine your techniques and create handles that showcase your woodworking talent while adding a personal and distinctive element to your furniture.


